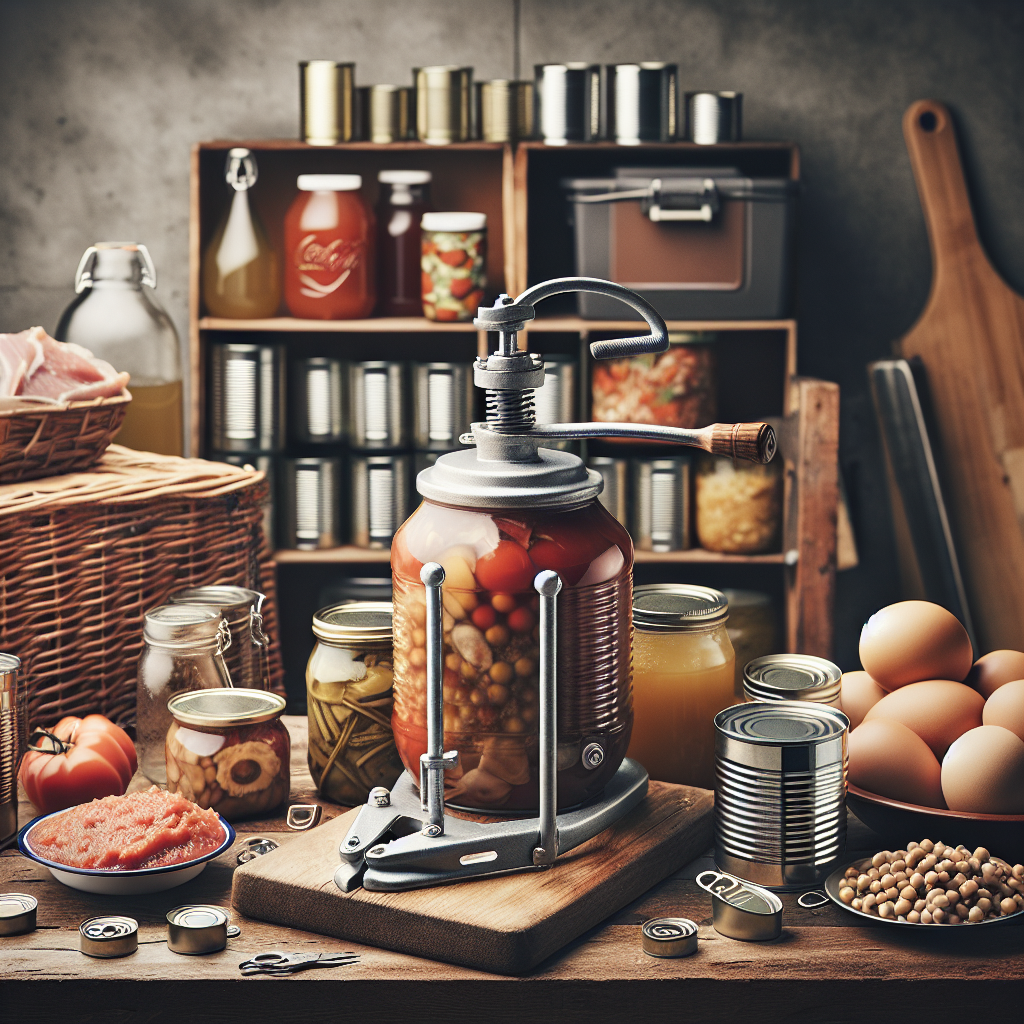
You’ve probably heard of the importance of being prepared for emergencies and having a reliable food source in case of a crisis. Whether you’re an avid outdoorsman or simply someone looking to take control of their own food supply, canning your own survival foods is a skill worth learning. In this article, we’ll explore the process for canning your own survival foods, highlighting the steps and techniques that will help you preserve food for extended periods of time. So, grab your apron, roll up your sleeves, and let’s get started on this exciting journey of self-sufficiency.
Choosing the Right Foods
When it comes to canning your own survival foods, the first step is to choose the right foods for the task. During a crisis or emergency situation, it’s important to have access to nutritious and long-lasting ingredients. Therefore, considering the nutritional value of the foods you select is crucial. Opt for foods that are high in vitamins, minerals, and other essential nutrients to ensure you and your loved ones stay healthy.
In addition to nutritional value, it’s also essential to choose long-lasting ingredients for canning. Select foods that have a low spoilage rate and can withstand the canning process without losing their texture or flavor. Some great options include root vegetables like carrots and potatoes, as well as fruits like apples and oranges. These foods tend to have a longer shelf life, making them ideal for canning and preserving.
Lastly, it’s important to avoid high-risk foods when canning for survival purposes. Foods that are prone to spoilage or have a higher risk of contamination may not be suitable for long-term storage. Avoid canning dairy products, cooked rice, and high-moisture items like cucumbers. By being selective with your ingredients, you can ensure the safety and quality of your canned foods.
Gathering the Necessary Equipment
Before you start the canning process, it’s crucial to gather all the necessary equipment. Having the right tools on hand will make the canning process smoother and more efficient.
First and foremost, you’ll need canning jars and lids. Opt for jars specifically designed for canning, as they are made to withstand the heat and pressure of the canning process. Make sure to have enough jars for the amount of food you plan to can.
Next, you’ll need either a pressure canner or a water bath canner, depending on the type of food you are canning. A pressure canner is necessary for low-acid foods, such as vegetables, meat, and seafood, as it reaches higher temperatures and ensures proper food safety. On the other hand, a water bath canner is suitable for high-acid foods like fruits and pickles.
Lastly, gather basic kitchen tools such as a sharp knife, cutting board, measuring cups, and a large pot for boiling water. These tools will come in handy during the preparation and packing stages of the canning process.
Preparing the Foods for Canning
Before you can start packing your jars, it’s important to properly prepare the foods you’ll be canning. This involves a few key steps to ensure the foods are clean, safe to eat, and ready for long-term storage.
Start by washing and peeling any fruits and vegetables you plan to can. This removes any dirt or bacteria that may be present on the surface. Be thorough when washing and consider using a vegetable brush if needed. Peeling certain fruits and vegetables can also improve their texture and quality when canned.
For some ingredients, such as vegetables, it may be necessary to blanch them before canning. Blanching involves briefly boiling the vegetables in water, then immediately transferring them to an ice bath to stop the cooking process. Blanching helps preserve the color, texture, and nutritional value of the vegetables.
Additionally, you may need to chop or slice certain ingredients to fit them into the jars properly. Consider the size of your jars and the desired consistency of the foods when deciding how to prepare them. Uniformity in the size of the pieces can help ensure even cooking and distribution of flavors in the final product.

Packing the Jars
Once your foods are prepared, it’s time to start packing them into the canning jars. Pay attention to a few key factors to ensure the best results and optimal storage.
First and foremost, choose appropriate jar sizes for the foods you are canning. Some foods may require smaller jars for portion control, while others may need larger jars for bulk storage. It’s important to leave enough headspace in each jar to allow for the expansion of the food during the canning process and to create a proper seal.
Add any necessary liquids or sauces to the jars before packing the solid ingredients. This helps to evenly distribute flavors and moisture throughout the jar. Whether it’s a simple brine, a tomato sauce, or a sweet syrup, be sure to follow a reliable recipe for the liquid component of your canned foods.
Finally, remember to leave the appropriate headspace at the top of each jar. For most canned foods, this is typically around 1/2 to 1 inch. The headspace allows for the proper vacuum seal to form during processing and helps prevent the jars from leaking or breaking.
Processing the Jars
After the jars are packed, it’s time to move on to the processing step. The method you choose will depend on the type of canner you’re using and the specific requirements for the foods you’re canning.
If you’re using a pressure canner, carefully follow the instructions for your specific model. This will include adding the required amount of water, sealing the lid properly, and adjusting the pressure to the recommended level. The processing time will also vary depending on the food being canned, so consult a reputable source for precise instructions.
Alternatively, if you’re using a water bath canner, ensure you have enough boiling water to completely cover the jars. Place the filled jars into the canner using a jar lifter, taking care not to overcrowd them. Allow the water to return to a full boil and then start the processing time. The specific processing time will depend on the recipe and the altitude at which you’re canning, so refer to a trusted source for accurate information.
Throughout the processing time, it’s important to monitor the temperature and processing time closely. Proper processing ensures that harmful bacteria are eradicated and that the food is safely preserved. Make sure to avoid opening the canner during the processing time, as this can disrupt the temperature and lead to improper sealing.
Checking the Seals
Once the processing time is complete, it’s time to allow the jars to cool and check the seals. Proper seal formation is vital to ensure the safety and quality of your canned foods.
Allow the jars to sit undisturbed on a clean, dry surface for at least 12 to 24 hours. During this time, you may hear the lids make a “popping” sound as they seal. This is a good sign that the vacuum seal is forming. Once the jars have cooled completely, gently press down on the center of each lid to check for a firm, concave seal. If the lid doesn’t move or make a popping sound when pressed, the seal is strong and secure.
If any jars fail to seal properly, you have two options. First, you can store those jars in the refrigerator and consume the contents within a few days. Alternatively, you can reprocess the jars following the same canning process. Make sure to use a new lid and reprocess the jar within 24 hours to avoid any potential spoilage.
Storing Canned Foods
After the jars have been properly processed and sealed, it’s time to store them correctly for long-term use. Proper labeling, organizing, and choosing the right storage area are all essential for maintaining the quality and safety of your canned foods.
Label each jar with the contents and the date of canning. This will help you keep track of what you have and ensure you rotate your stock, using the oldest jars first. Organize your jars in a cool, dark, and dry area. Avoid storing them near heat sources or in direct sunlight, as this can affect the quality and shelf life of the canned foods.
Regularly check your stored jars for any signs of spoilage. Look for bulging lids, discolored or cloudy liquids, or any off smells. If you notice any of these signs, it’s best to discard the jar to prevent any potential foodborne illnesses.
Utilizing Canned Foods
Now that you have your canned foods stored and ready to go, it’s important to know how to utilize them effectively in your everyday meals and emergency situations.
Practice rotating your stock and using the oldest jars first. This ensures that none of your canned goods go to waste and that you’re constantly replenishing your supplies. Incorporate the canned foods into your recipes, whether it’s adding canned vegetables to soups and stews or using canned fruits as a topping for desserts. The convenience and versatility of canned foods make them an excellent resource for meal planning.
When consuming canned foods, make sure to properly reheat them before consuming. This can be done on the stovetop, in the oven, or using a microwave, depending on the food and your preferences. Always ensure that the food reaches a safe internal temperature to prevent any potential foodborne illnesses.
Extending Shelf Life
To further extend the shelf life of your canned foods, there are a few key steps you can take.
First and foremost, implement proper canning techniques during the process. Follow reputable recipes and guidelines to ensure that your foods are processed correctly and safely. This includes using the correct processing times, pressures, and temperatures.
When storing your canned foods, pay attention to the conditions in which they are kept. A cool and consistent temperature is ideal for long-term storage. Aim for a temperature between 50°F and 70°F, as fluctuations can affect the quality and shelf life of the canned goods. Additionally, avoid storing the jars near any chemicals or strong-smelling substances, as the odors can permeate the jars and affect the flavor of the foods.
Lastly, make sure to use your preserved foods before they reach their expiration dates. While properly canned foods can last for one to five years or even longer, it’s always a good idea to rotate your stock and consume the oldest items first. This ensures that you’re using the foods at their peak quality and optimizing their nutritional value.
Maintaining Safety and Quality
Throughout the entire canning process, it’s important to prioritize safety and quality to ensure the best results and the health of you and your loved ones.
Always follow reputable recipes when canning your own survival foods. These recipes have been tested and proven safe for consumption. Avoid taking shortcuts or improvising with ingredients or processing methods, as this can lead to unsafe practices and potentially harmful consequences.
When bottling your foods, pay attention to any signs of spoilage or contamination. If you notice any bulging lids, off smells, or unusual discoloration, it’s best to err on the side of caution and discard the jar. Safety should always be the top priority when it comes to canned foods.
By choosing the right foods, gathering the necessary equipment, properly preparing the foods, and following safe canning techniques, you can successfully can your own survival foods. With a well-stocked pantry of canned goods, you’ll have peace of mind knowing you’re prepared for any emergency or crisis that may come your way. Stay safe, stay prepared, and enjoy the benefits of your homemade canned foods!
